Physical Address
304 North Cardinal St.
Dorchester Center, MA 02124
When working with container orchestration, Kubernetes stands out as a powerful and essential tool. For Windows users who want to explore Kubernetes without sacrificing their routine working environment, the combination of Kubeadm, Ubuntu and WSL2 offers a great and practical solution! In this post, I’ll go through the entire process of installing and configuring Kubeadm on Ubuntu, running inside WSL2 (Windows Subsystem for Linux 2).
Topics
To learn how to install Kubeadm on Ubuntu and configure it on an Ubuntu running WSL 2, you’ll need to follow a few specific steps, as shown below:
sudo apt-get update && sudo apt-get upgrade -y
sudo apt-get install -y apt-transport-https ca-certificates curl software-properties-common
curl -s https://packages.cloud.google.com/apt/doc/apt-key.gpg | sudo apt-key add -
   echo "deb https://apt.kubernetes.io/ kubernetes-xenial main" | sudo tee /etc/apt/sources.list.d/kubernetes.list
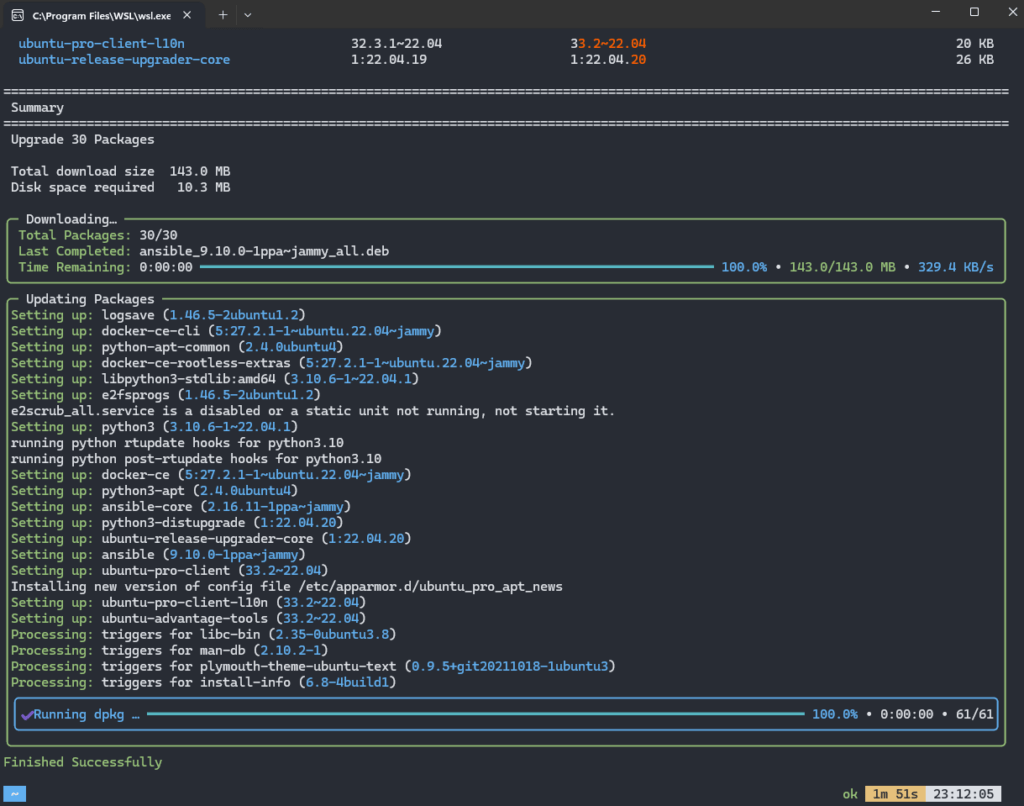
Result:

sudo apt-get update
sudo apt-get install -y kubelet kubeadm kubectlsudo swapoff -asudo apt-get install -y docker.io
sudo systemctl start docker
sudo systemctl enable docker/etc/docker/daemon.json:sudo nano /etc/docker/daemon.jsonAdd the following content:
{
 "exec-opts": ["native.cgroupdriver=systemd"]
}
Restart Docker:
sudo systemctl restart dockersudo kubeadm init --pod-network-cidr=10.244.0.0/16mkdir -p $HOME/.kube
sudo cp -i /etc/kubernetes/admin.conf $HOME/.kube/config
sudo chown $(id -u):$(id -g) $HOME/.kube/configkubectl apply -f https://docs.projectcalico.org/manifests/calico.yamlImportant comments:
systemd, which is used by kubeadm. You need to configure SystemD support or consider using a full virtual machine with emulated Linux.If you encounter specific problems during the installation, please let me know so I can help solve them!
Once you have followed all the steps above, you should see a screen similar to this when you run the kubectl get pods -A command in your terminal:

Installing Kubeadm on Ubuntu using WSL2 offers a powerful and flexible way of working with Kubernetes on Windows. This environment combines the best of both worlds: the familiarity of Windows with the power of Linux and Kubernetes.
Tips and Good Practices
kubeadm init command to configure Kubeadm.kubectl get nodes command to check that the cluster is working correctly.Common mistakes
The main difference between WSL1 and WSL2 is the hyper-v VM-based version of Microsoft Linux, which sounds like exciting news, at least it’s running the full Linux kernel, but there are some problems if used for DevOps/SRE activities.
Here are some known trouble spots:
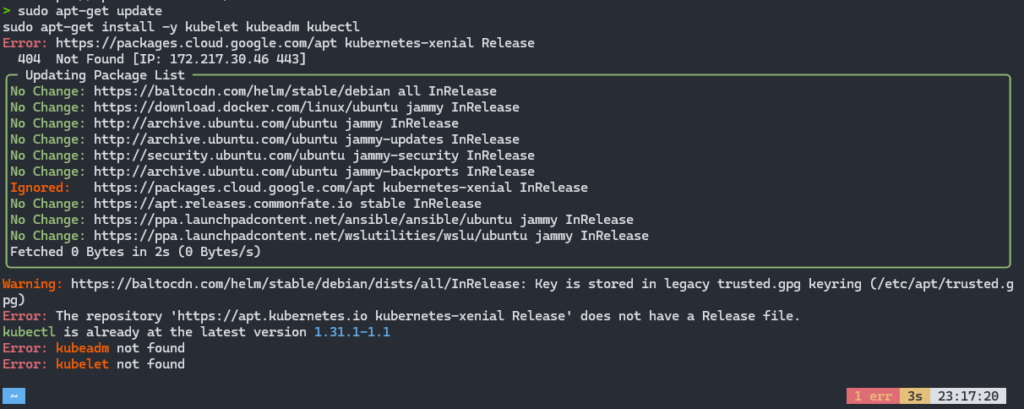
systemd is not enabled, which is necessary to install packagesIn addition to the points mentioned above, in some cases there may be errors related to the repository where Kubeadm is available, as in this example image:

For details on cases where your lab requires a Fixed IP configuration on WSL2 or you want to install it in a more automated way, I recommend these 2 materials:
Both deal with issues surrounding the use of Kubeadm in WSL2, but they are procedures recommended for more advanced users, as they can cause problems that are difficult to reverse in your environment.
In addition to Calico, another popular option for pod networks is Cilium, which is a good option to use after install Kubeadm.
Cilium provides service-level security and enhanced observability for Kubernetes clusters and is my personal choice in my labs and production environments.
Cilium provides advanced features such as identity-based security policies, traffic monitoring and integration with Prometheus for performance metrics.
To install Cilium, run the following commands:
helm install cilium cilium/cilium -f values.yaml --version 1.14.2 \
    --namespace kube-system \
    --set kubeProxyReplacement=strict \
    --set k8sServiceHost=192.168.0.107 \
    --set k8sServicePort=6443
After installation, check that Cilium is running with the command:
kubectl get pods --namespace=kube-system -l k8s-app=ciliumExpected return:

In this article, we have shown you how to make a Kubernetes Kubeadm install on Ubuntu with WSL2. With this setup, you can easily and quickly set up a production-ready Kubernetes cluster on your Windows machine.
Now that you have a Kubernetes cluster up and running, you can start deploying and managing containerized applications. To learn more about Kubernetes and its capabilities, check out our articles: